
Installation & First Sign-In v7.0.20
Place it on the network, reach it in a browser, activate it, and work down the first-day checklist — you can be discovering devices within the hour.
Netmon ships as a ready-to-run appliance: the operating system, the database, and all monitoring services are installed and configured before it reaches you. “Installation” therefore means placing the appliance on your network, signing in for the first time, and walking through a short list of first-day settings. Plan for under an hour.
Two appliances, one product
Netmon is supplied in two hardware configurations — identical in software and capability, sized for different networks:
| Enterprise | SMB | |
|---|---|---|
| Form factor | 1U rack-mount server | Compact desktop/shelf unit |
| Network interfaces | Eight 1 GbE | Two 2.5 GbE |
| Storage | Mirrored SSDs plus a dedicated high-capacity drive for log data | NVMe SSD |
| Out-of-band management | IPMI | — |
Current detailed specifications are published at netmon.com. A virtualized Netmon for your own hypervisor is also available — ask your Netmon representative. Everything in this guide applies equally to all three; where hardware matters (interface counts, mirror-port feeds), the text says so.
Placing the appliance
Choose a location with the same care you would give a core switch:
- Network position. The appliance monitors what it can reach — and it continuously inspects what it can see. From the moment it is running, every packet arriving on its monitoring interfaces is dissected in real time to build the traffic record behind the packet analyzer, the topology map, traffic reports, intrusion detection, and packet capture. Placement therefore sets the ceiling on all of these at once: feed the monitoring interface from a switch SPAN/mirror port (or place it on a well-connected segment), and put the appliance on a management network from which your switches, routers, servers, and other monitored equipment are reachable. The Device Configuration Guide has the switch-side configuration for mirroring traffic with SPAN on Cisco and other vendors.
- Network interfaces. One interface carries the web interface and active monitoring (ping, SNMP, agent polling); every additional interface can be dedicated to passive traffic inspection from a mirror port. The SMB appliance has two interfaces — management plus one mirror feed; the Enterprise appliance’s eight let it watch several segments at once. Interfaces are configured later under System → System Settings → Network Interfaces. On a virtualized Netmon the same logic applies to its virtual NICs: the monitoring vNIC must be fed a mirrored or promiscuous view of the traffic you want inspected.
- Power and environment. Rack or shelf-mount the unit, connect power — ideally through a UPS, since a monitoring system is most valuable during the incidents that take other equipment down — and connect the management interface to your network.
Reaching the web interface
Netmon is administered entirely from a web browser (a current version of Chrome, Edge, or Firefox).
- Determine the appliance’s address. Your delivery sheet lists the factory network configuration, and on networks that allow mDNS/Bonjour discovery the appliance announces itself under its hostname —
netmonfrom the factory, sohttps://netmon.localreaches a freshly installed unit. - Browse to
https://<appliance-address>/. - Your browser will warn that the connection is not private. The appliance ships with a self-signed certificate, so this warning is expected on first contact — proceed past it. Replacing the certificate with one your browsers trust is covered in System Settings.
If the appliance cannot be reached at all — no DHCP on the segment, a mislaid delivery sheet — attach a display and keyboard and sign in at the console with the same factory credentials to inspect and set the addressing; on the Enterprise appliance, the LOM (IPMI) interface offers the same recovery remotely. Failing both, support can walk you through it.
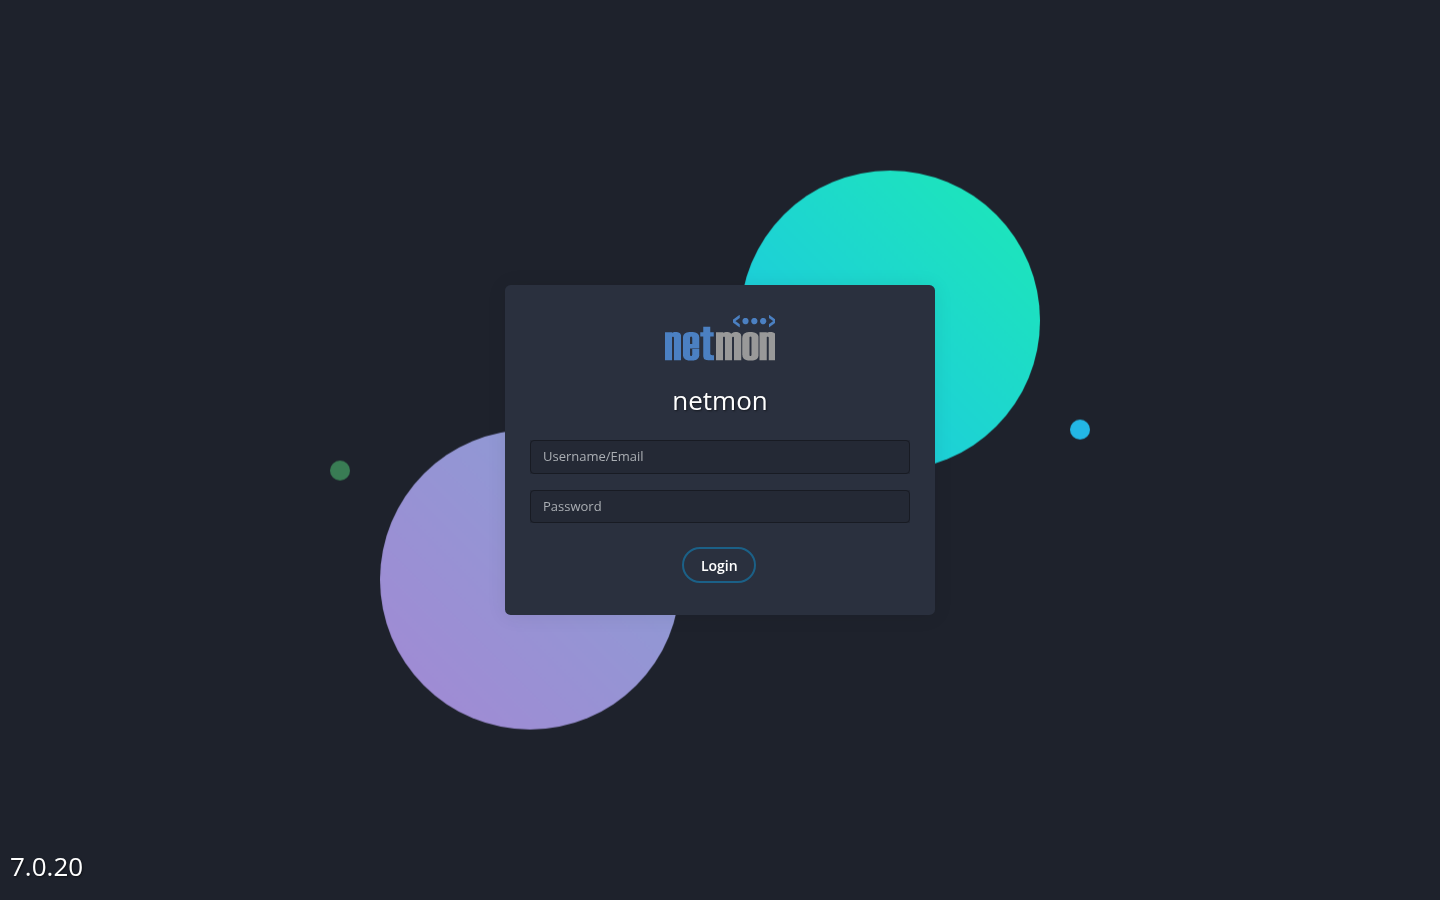
First sign-in
Sign in with the factory account:
- Username:
admin - Password: set individually for your unit at install time by Netmon, and printed on a sticker on the physical hardware.
The same factory password also protects two other doors into the appliance: the SSH/terminal login, and — on the Enterprise appliance — the Supermicro LOM (lights-out management) interface. All three start out identical and change independently; updating one does not update the others.
Change the factory passwords early — the password is printed on the chassis, which is exactly where anyone with rack access can read it. And remember the three change independently: rotating the web password alone leaves the other two doors on the sticker value.
Where each one is changed:
- Web account — System → Users and Permissions, edit the
adminaccount. - SSH/terminal — open System → System Terminal (or an SSH session), sign in with the same factory credentials, and run
passwd. - LOM (Enterprise appliance) — in the Supermicro management interface, served from the appliance’s dedicated IPMI network port, under its user settings.
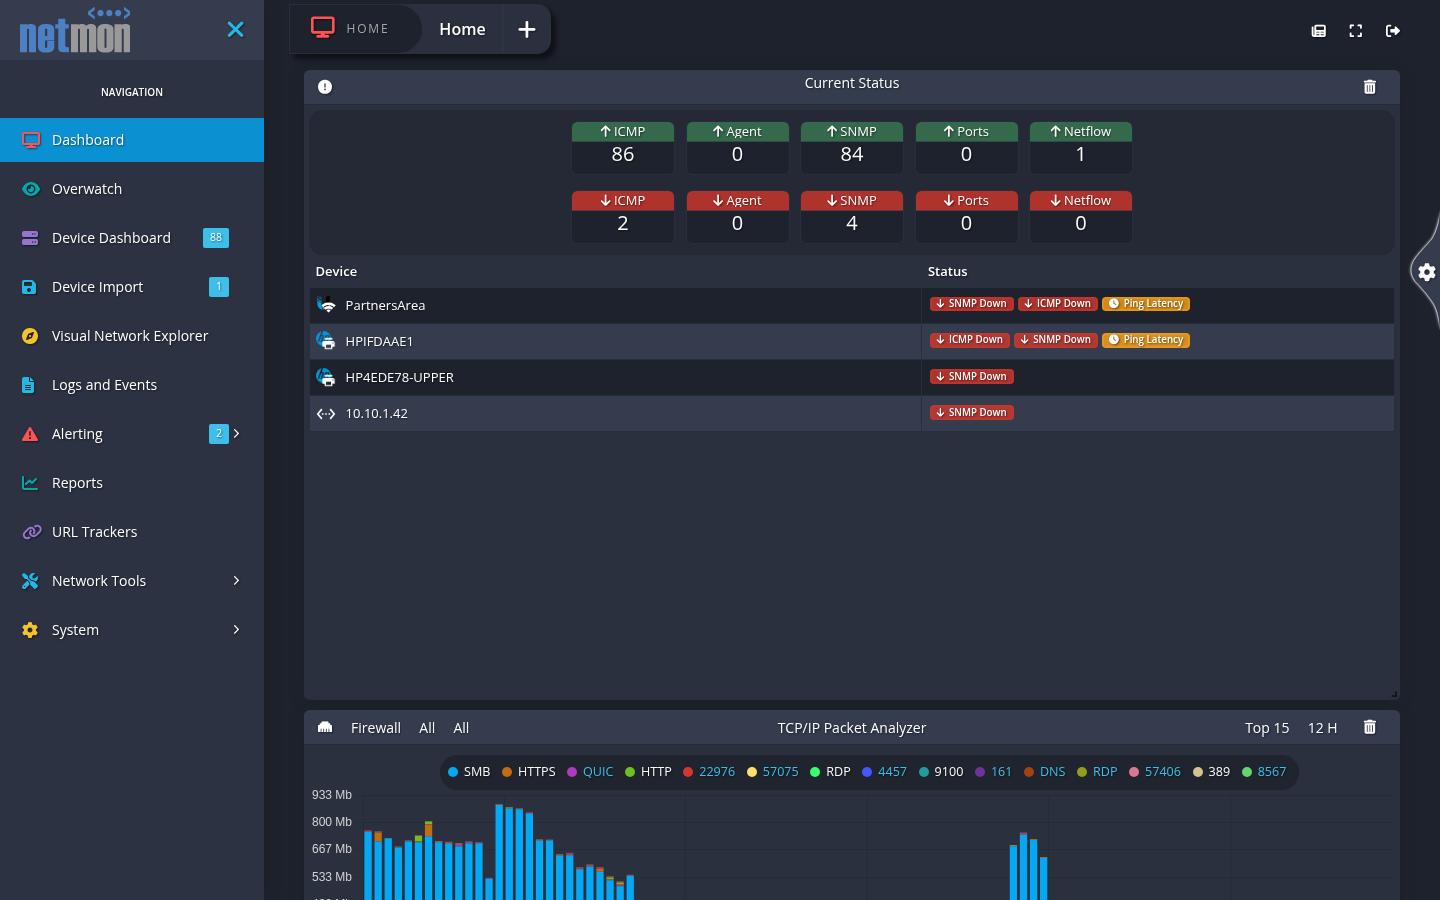
After signing in you land on the Dashboard. It will be sparsely populated until devices are added, but the layout — navigation sidebar on the left, boards of widgets in the center — is the one you will use every day.
Activating the appliance
Netmon is licensed per appliance with an activation key. Out of the box the appliance runs on a trial license, activated automatically the first time it starts — monitoring works in full while you evaluate or finish procurement. The trial’s length is set when your unit is provisioned; the Licensing card counts down the days remaining.
To activate permanently:
- Open System → System Settings and locate the Licensing card.
- Enter the activation key provided with your purchase and apply it.
- The card shows Activated, along with your company information and the date through which software maintenance is provided.
Do not let the trial run out. When it lapses with no activation key entered, the monitoring services stop until one is — by design, an expired appliance fails obviously rather than silently. Enter your key well before the trial’s last day.
Activation also entitles the appliance to automatic software updates and support for the maintenance period. If the appliance cannot reach the activation service (an isolated or air-gapped network), contact support for an offline activation key.
First-day configuration checklist
Work down the System → System Settings page once, top to bottom. Each card is covered in depth in System Settings; on day one the following matter most:
- Network Interfaces — confirm the management address, and configure the interfaces you connected to mirror ports.
- SMTP Configuration — give the appliance a mail server and sender address so alert email can flow. Send the test message before moving on; alerting is only as reliable as this setting.
- HTTPS Certificate — install a certificate issued by your internal CA or a public authority, so administrators stop training themselves to click through browser warnings.
- Download the private decryption key — from the Backup card. A full restore requires it together with a backup file. Download it now, store it with your most sensitive material (a secrets vault), and then delete it from the appliance using the card’s delete action — it should not stay on the box it protects. See Data Maintenance.
- Backup — backups are taken manually from the same card. Take your first one when initial configuration settles, and put a recurring reminder in your own calendar; the appliance does not schedule them for you.
- Users — create a named account for each administrator and operator. The permission model is described in Core Concepts; day-to-day work should not happen as
admin.
Pointing Netmon at your network
The last step of installation is telling Netmon where to look:
- Open Device Import.
- Under Monitored Network & Credential Settings, add your Credentials first — the read-only SNMP community strings or SNMPv3 users Netmon should try when it meets SNMP-speaking equipment. A network range references these, so they must exist before the range does.
- Add your first Monitored Network Range — a label, an address range (for example
10.0.0.0 – 10.0.0.254), and the credentials to try on it. - Enable Auto Discovery on the range.
Within minutes, discovered hosts begin to appear as pending devices on the Device Import page, ready for your review. Promoting them into monitored devices — and adding devices by hand — is the subject of Adding & Importing Devices.
Discovery is read-only and polite: it observes ARP activity and probes candidates with ping and your supplied read credentials. It does not log in to anything and does not change device configurations.